
Home Skills · All the Things Your Dad Should Have Taught You
How to Fix a Loose Cabinet Handle Without Stripping It
Inspect accessible cabinet hardware, match the driver and screw, and distinguish simple loosening from damaged threads or cabinet material.
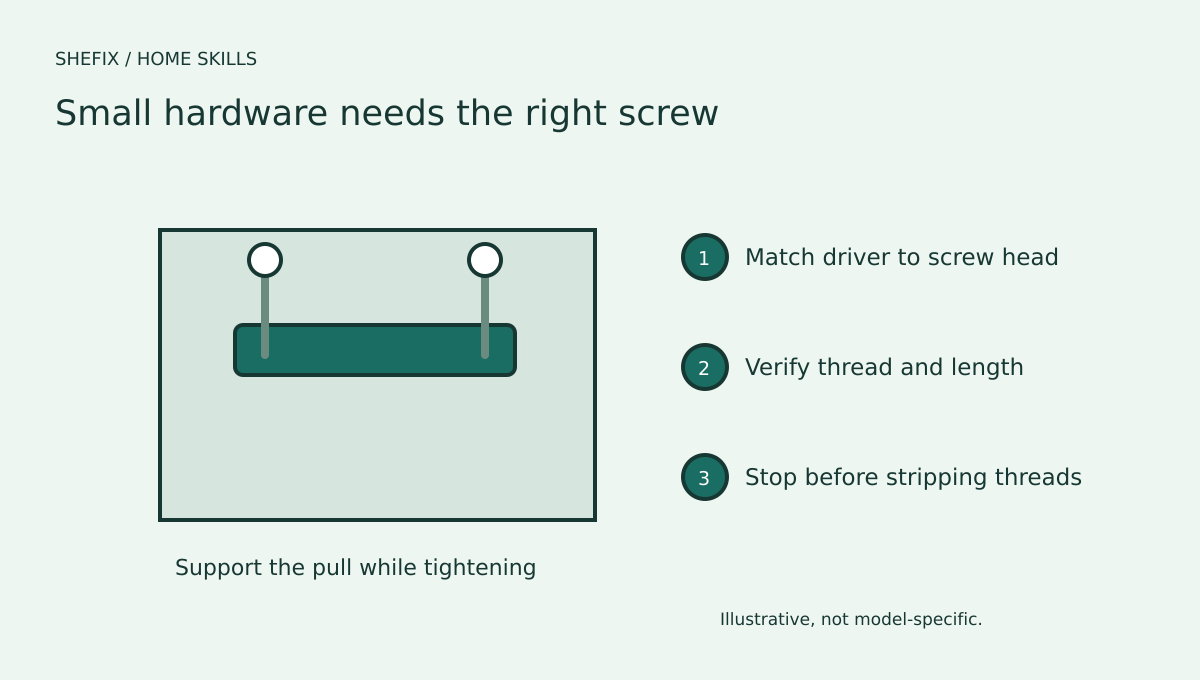
A loose cabinet handle is a useful first repair because the hardware is usually accessible and the result is easy to check. The important distinction is between a screw that has loosened, a screw that no longer holds, and damaged material around the mounting hole. Tightening helps only when the parts remain sound and compatible.
This guide covers a conventional drawer pull or door knob secured from the inside with accessible screws. It does not cover a falling wall cabinet, damaged drawer slide, heavy door support, or a concealed fastening system. If the cabinet itself moves, stop and get professional help.
Inspect before tightening
Empty the drawer if its contents make access awkward. Open the door or drawer so you can reach the back of the hardware comfortably. Hold the pull from the front while inspecting the screw head. Determine whether it needs a Phillips, flat, square, Torx, or another driver.
Check whether the screw is backing out, spinning without resistance, or binding before the handle becomes firm. Look for a cracked pull, damaged threads, enlarged holes, or crushed material. A screw that is too long can bottom out inside the handle while leaving the pull loose. A screw that is too short may engage too little thread.
Photograph the arrangement before removal if washers or spacers are present. For a two-screw pull, support the handle so it does not twist while one side is loosened. Keep small parts in a tray, away from children and pets.
Use the correct driver and gentle control
A snugly fitting hand screwdriver is often the best starting tool. A loose or mismatched bit can strip the head. Hold the driver in line with the screw and keep the other hand clear of any slipping path.
Support the hardware while turning the accessible screw gently. Stop as soon as the pull is secure and sits correctly against the surface. Do not keep turning to prove it is tight. Excess force can strip threads, crush cabinet material, or damage the finish.
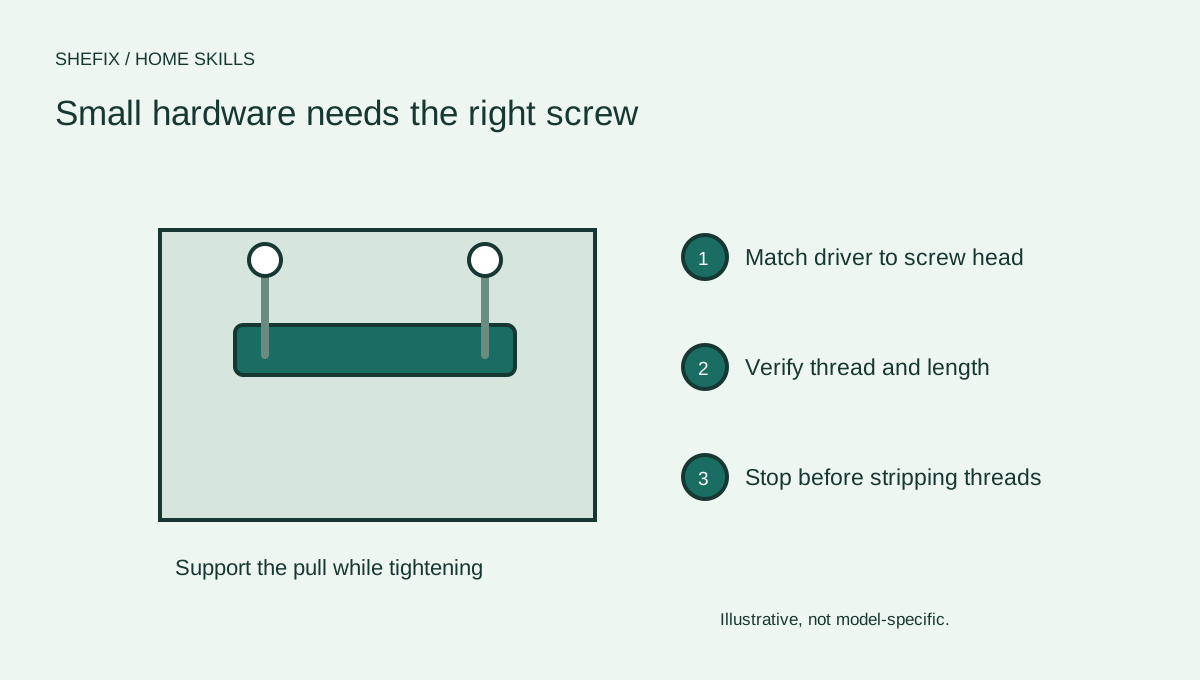
If tightening does not solve it
- Support the pull and remove the screw carefully if the fastening design permits it.
- Compare the screw and hardware with the manufacturer's specification or an identical sound installation.
- Inspect the threads and confirm the correct length, diameter, and thread type. Similar-looking screws may not be interchangeable.
- Replace a damaged screw or pull with a compatible part. Do not force a screw with a different thread into the handle.
- Reassemble any specified washers or spacers and check alignment.
- Tighten gently, then open and close the door or drawer several times to confirm normal operation.
If the mounting hole in the cabinet is enlarged or the material is broken, tightening is not a full repair. Depending on the material and hardware, a professional may need to repair the substrate or change the mounting arrangement. Do not fill a hole with a household improvisation and assume it will carry the intended load.
Avoid common shortcuts
A longer screw is not automatically stronger. It may bottom out, protrude, or damage the hardware. A washer may be appropriate only if the fastening design allows it. A thread-locking product needs compatibility and instructions; it should not conceal a mismatch or make future removal impossible.
Do not use a high-torque power tool on small decorative hardware unless the manufacturer permits it and you can control the fastening force. For this task, a hand tool gives useful feedback. Stop for a stripped screw head before it becomes impossible to remove normally.
Changing a pull may reveal a different hole spacing. Measure the distance between mounting centers and check the new hardware before drilling. New holes require a plan for the cabinet material and surrounding finish. A decorative backplate can be useful when designed for the purpose, but it does not repair structural damage by itself.
Check adjacent hardware without expanding the job
Once the repair is complete, inspect similar handles by gently checking for movement. Do not retighten every screw aggressively. Note any recurring pattern, such as several loose pulls on the same type of drawer or a door rubbing its frame.
A rubbing cabinet door may need hinge adjustment rather than handle work. A drawer that drops or binds may have slide or cabinet damage. Treat those as separate diagnoses rather than loosening unrelated components to see what happens.
Questions homeowners ask
Why does the screw spin forever? Threads may be stripped, the screw may not engage, or the underlying material may be damaged. Stop and inspect rather than applying more force.
Can I buy any screw that looks the same? Match the actual specification. Diameter, thread pitch, length, and head design matter.
Should I glue the handle on? Use the intended fastening system. Adhesive can damage finishes, complicate removal, and fail to address the real problem.
Save the part details
Keep the screw specification, handle model, and any supplier information. If several pieces are damaged, create a small repair brief with photographs and measurements. A carpenter or suitable repair professional can evaluate the hardware and cabinet material together.
Your printable project checklist
Use your browser's PDF option to keep a copy. Create a free account to keep project records and compare professionals.
Sources & further reading
Follow the instructions for your specific equipment and confirm current local requirements.