Plumbing · All the Things Your Dad Should Have Taught You
How to Diagnose a Running Toilet Without Guessing
Learn what a conventional toilet tank is doing, distinguish a seal leak from a fill problem, and know when a compatible repair needs a plumber.
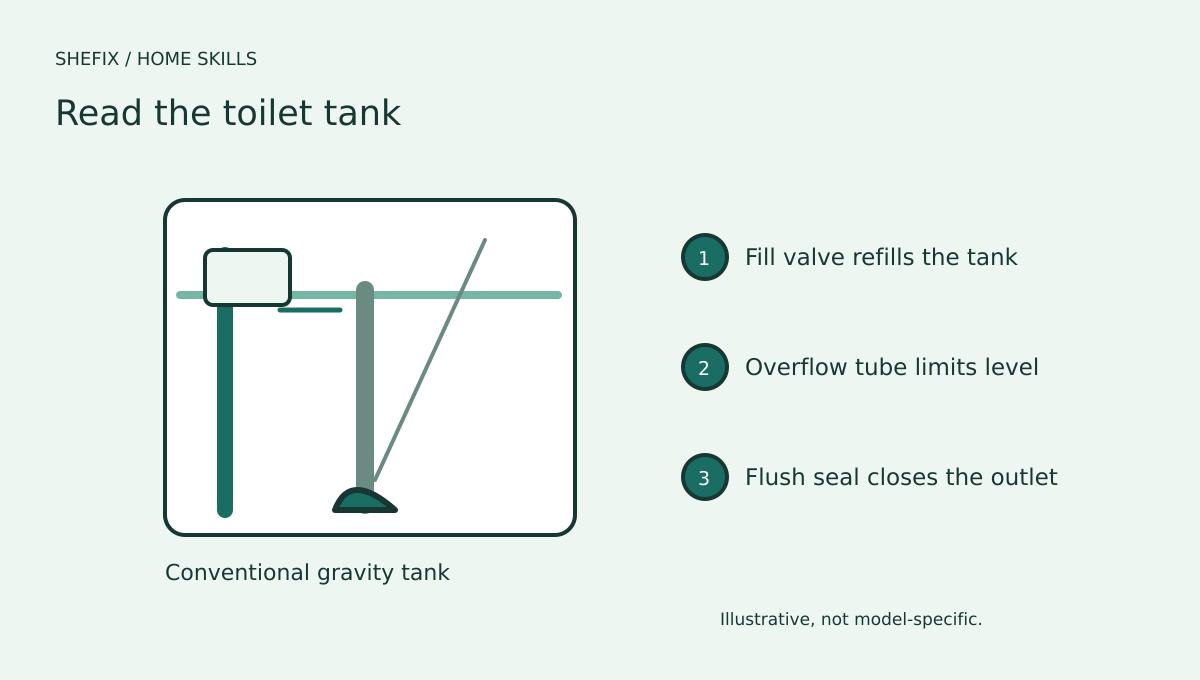
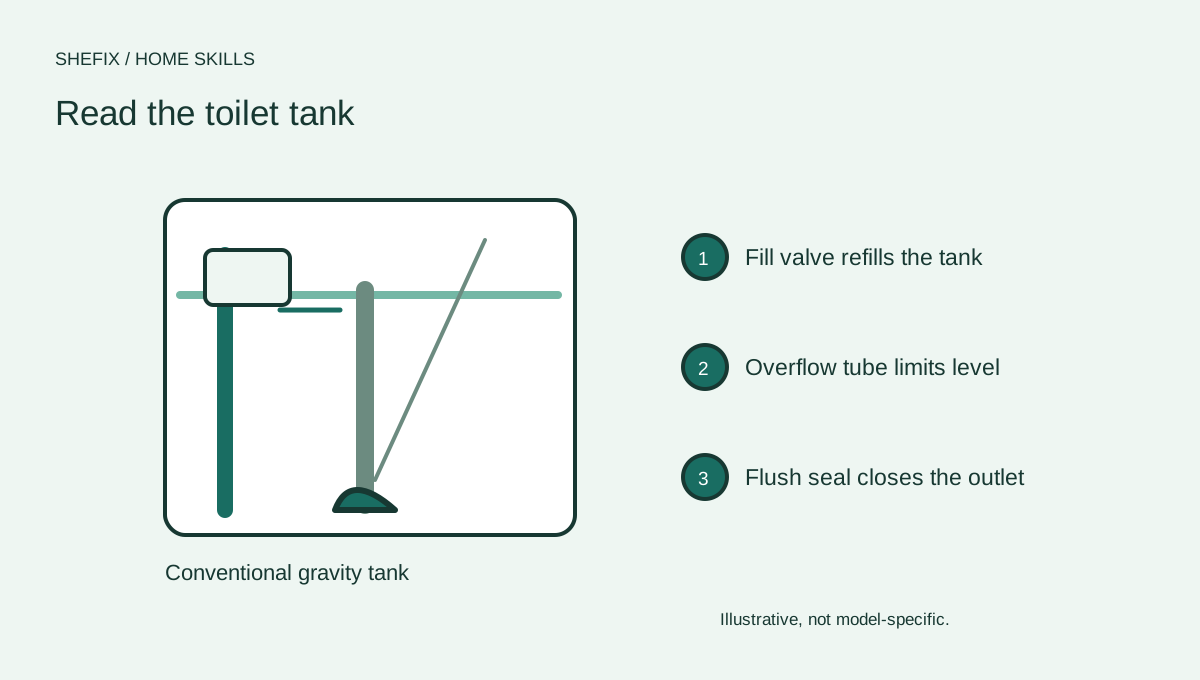
A running toilet is a small sound that can represent a large amount of wasted water. It may run continuously, refill every few minutes, or leave a faint ripple in the bowl. Before buying a replacement part, learn what the tank is doing. Many conventional gravity toilets are understandable once you identify the fill valve, overflow tube, flush lever, and flapper or canister seal.
This guide applies to an ordinary gravity tank. Pressure-assisted systems, concealed tanks, smart toilets, and unfamiliar mechanisms need their model-specific instructions. Do not open a pressure vessel or assume every toilet uses a universal flapper.
Observe one complete flush
Remove the tank lid carefully and set it flat on a towel where it cannot fall. Ceramic breaks easily, and a replacement lid can be difficult to find. Photograph the tank before moving anything. Locate the manufacturer and model number, often printed or stamped inside the tank or beneath the lid.
Flush once and watch. The handle lifts the seal so water leaves the tank. The seal then closes, and the fill valve replaces the water. The fill valve should shut off at the water line specified for the model. Water continuously spilling into the overflow tube points to a different problem from water slowly leaking past a closed seal.
Check whether the handle returns freely and whether the chain is caught beneath the flapper. A chain pulled too tight can hold the seal slightly open. Too much slack may prevent a full lift. Follow the manufacturer's adjustment rather than relying on a fixed chain length for every tank.
Distinguish a seal leak from a fill problem
A simple dye test can reveal a tank-to-bowl leak. Use toilet leak dye tablets or a small amount of food coloring in the tank, following product guidance. Do not flush during the observation period recommended for the test. Color appearing in the bowl suggests water is passing through when the toilet is not being flushed. Flush afterward to avoid staining and verify the result against the manufacturer's troubleshooting instructions.
If the tank water rises into the overflow, inspect the fill valve setting and float movement. A float rubbing the tank, mineral buildup, or a worn valve can prevent normal shutoff. Do not bend components or add weights. Adjustment ranges and replacement parts are specific to the mechanism.
Prepare for a simple compatible seal replacement
You need the exact compatible seal or flapper, a towel, a small container for wet parts, and the toilet's instructions. Photograph the old part and take its model information to a supplier. Diameter alone does not establish compatibility; flush volume and the toilet design matter.
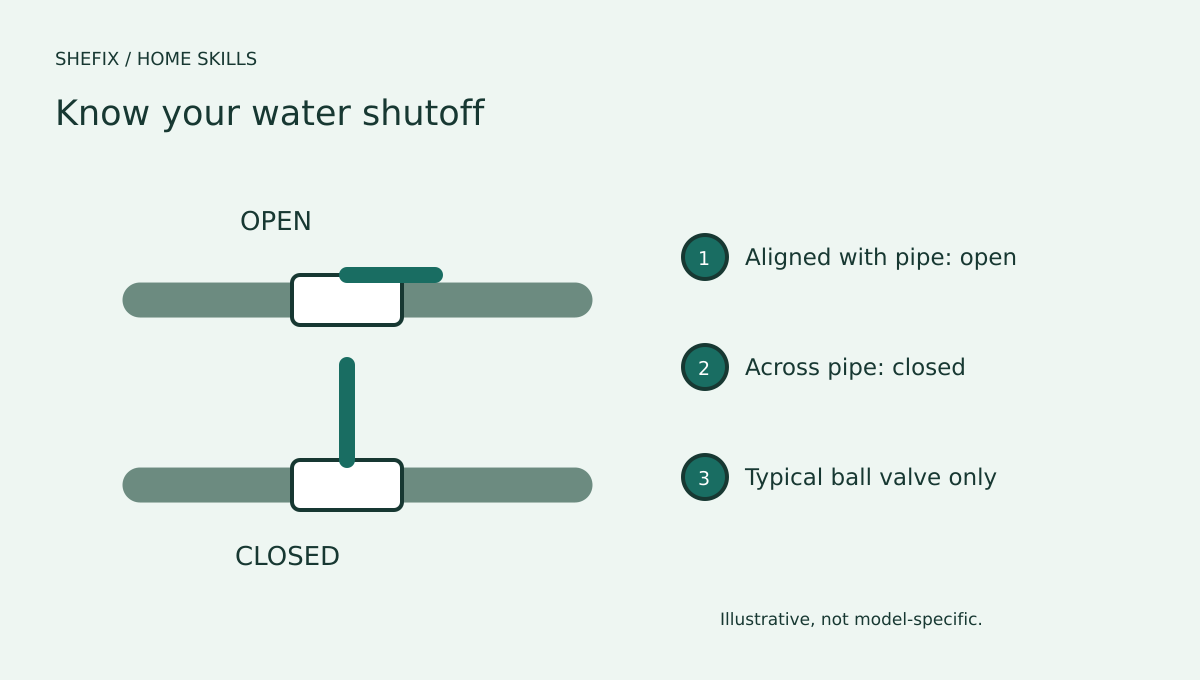
Find the toilet's shutoff and inspect it first. If it is seized, corroded, or leaking, stop and arrange plumbing help. Gently close a functional homeowner-operated valve, flush to reduce tank water, and remove residual water only if the part instructions require it. Wear gloves and wash your hands afterward.
- Follow the manufacturer's removal sequence for the flapper or seal. Do not pry ceramic or break plastic mounts.
- Inspect the seating surface for loose debris. Clean only as permitted by the manufacturer; abrasive tools can damage sealing surfaces.
- Install the matching replacement in the correct orientation. Reconnect the chain or mechanism without trapping it beneath the seal.
- Reopen the water slowly and observe the tank filling. Stop if a supply connection or valve begins leaking.
- Flush several times, confirm normal shutoff, and repeat the leak test if appropriate. Check again later for intermittent refilling.
Common mistakes that keep the toilet running
A new flapper can still leak if it is the wrong model, its ears bind on the mounts, the chain is trapped, or the seat is damaged. A fill valve may continue running because water is escaping through the flush seal, not because the fill valve itself is faulty. Replacing both parts without diagnosis can waste money and conceal the real cause.
Avoid in-tank chemical tablets unless the manufacturer expressly allows them. Some chemicals can degrade rubber parts or affect the warranty. Do not lower the water level arbitrarily to save water; that can weaken flushing and cause repeat flushes. Use the intended setting.
When the job needs a plumber
Get help for a cracked tank, leaking tank-to-bowl bolts, water at the toilet base, a shutoff that fails, persistent running after the correct adjustment, or recurring poor flushing. A leak at the base is not a flapper problem. Do not keep tightening ceramic connections in the hope that every leak will stop.
If several fixtures have drainage trouble or sewage appears, stop using affected fixtures and contact a professional. Do not pour drain chemicals into the toilet. Document what you saw during filling, whether dye reached the bowl, and whether the problem changes after a flush.
Questions homeowners ask
Is a brief refill always a leak? A refill after use is normal; repeated refilling when nobody flushes deserves investigation. Record the pattern rather than guessing from one sound.
Can I use a universal kit? Only if the manufacturer or parts supplier confirms compatibility with your model. Different toilet designs require different seals and fill mechanisms.
What belongs in a professional inquiry? Include the model, symptom, approximate frequency, dye-test result, shutoff condition, and any exterior leakage. These details make the first conversation more useful.
Keep the repair record
Save the replacement part number, receipt, installation date, and final test result. If the toilet still runs, a clear repair history helps a plumber diagnose the remaining issue instead of repeating a repair you already tried.
Your printable project checklist
Use your browser's PDF option to keep a copy. Create a free account to keep project records and compare professionals.
Sources & further reading
Follow the instructions for your specific equipment and confirm current local requirements.