Walls & Fixtures · All the Things Your Dad Should Have Taught You
How to Paint a Room: Preparation, Application, and Finish
Plan your room painting scope, assess existing surfaces, choose compatible products, and troubleshoot coverage and finish problems.
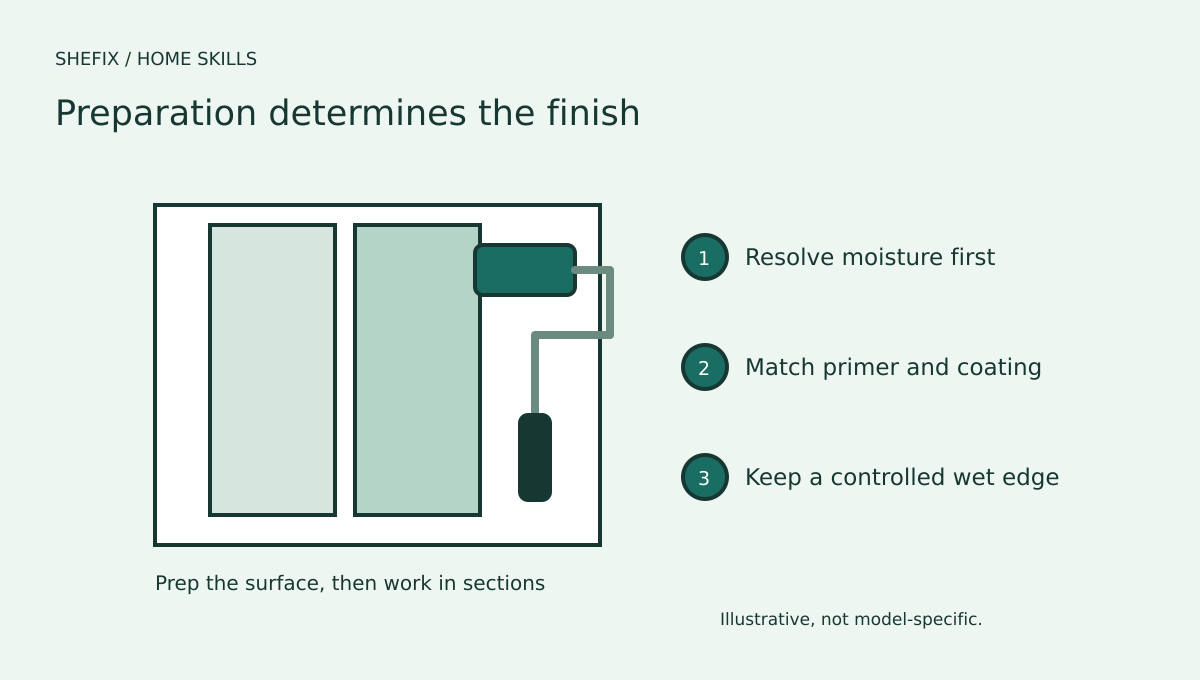
A room looks well painted because the preparation, surface condition, product, and application work together. Buying a fashionable color is only one part of the job. Before opening a can, decide which surfaces are included, what needs repair, and whether you can safely prepare the existing finish.
Do not scrape or sand unknown older coatings without appropriate assessment. Lead and other material hazards can change the entire preparation method. Water damage, active leaks, mold, or widespread peeling also need investigation before paint covers them.
Define the scope before buying
Measure the walls and identify ceilings, trim, doors, closets, and other surfaces you intend to include. Product coverage is stated by the manufacturer and depends on the surface, color change, and application. Calculate purchases using those instructions rather than assuming a single can will cover every room.
Choose the sheen and product for the surface and exposure. A bathroom, high-traffic hallway, ceiling, and cabinet may need different products. Check compatibility with the current finish and any primer. A washable marketing claim does not mean every surface can be scrubbed with any cleaner.
Test color in the actual room under daylight and evening lighting. A small digital swatch cannot show all the effects of the room's light and surrounding finishes. If a sample is applied, prepare it in a way that will not leave a visible ridge under the final coat.
Prepare the room and protect it
Move furniture or cover it, protect the floor with an appropriate drop cloth, and keep the work area clear. Use safe access equipment for high areas. Do not balance on furniture or stretch beyond a ladder's instructions. Plan ventilation according to the coating label.
Remove loose decorative hardware where appropriate. Do not remove electrical devices or open their wiring. If cover plates are removed under a safe, permitted procedure, keep power and access considerations in mind and use a professional when unsure. Do not paint outlets, switches, detectors, sprinkler heads, or safety equipment.
Clean, repair, and prime
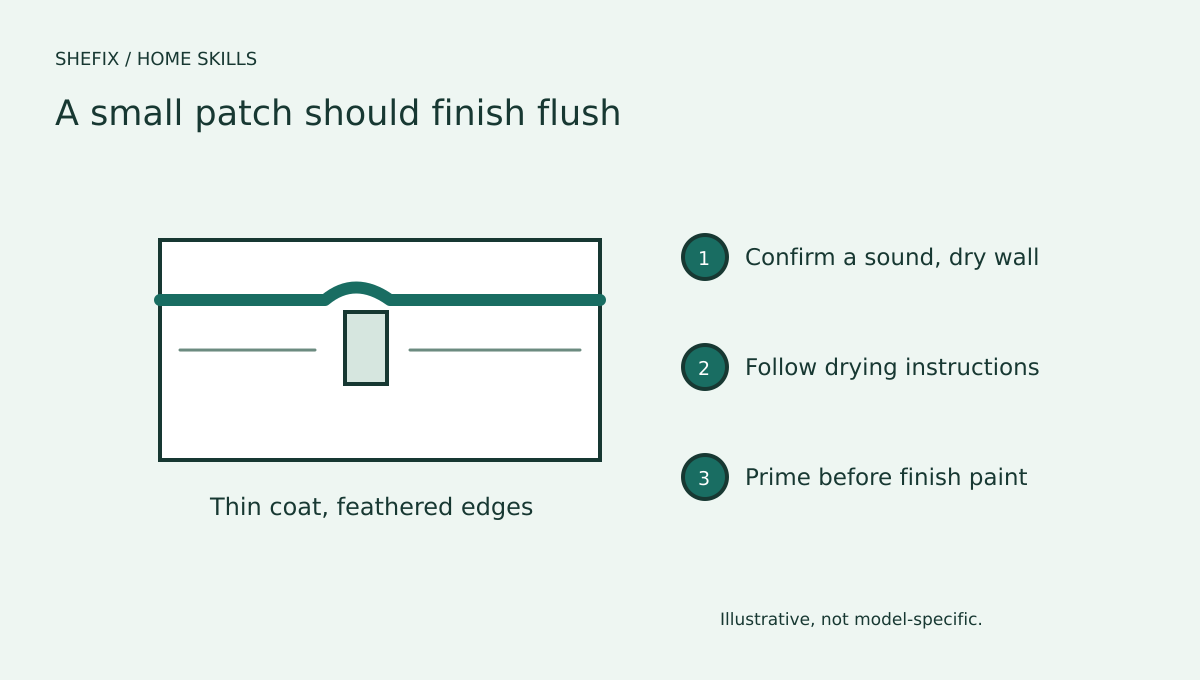
Wash or clean the surface by the paint manufacturer's approved method, addressing grease and residue. Let it dry fully. Repair small sound defects with a suitable product, and follow its drying and priming instructions. Do not fill a recurring crack without identifying why it returns.
Primer may be needed for bare areas, patching, stains, adhesion, or a significant surface change. The correct primer depends on the substrate and problem. A stain-blocking product does not resolve an active leak. Confirm the surface is suitable before proceeding.
Mask only with tape compatible with the finish, and follow the permitted removal time. Tape on a fragile finish can pull paint away. Good protection and controlled application remain necessary even when tape is used.
Apply the finish methodically
- Stir and prepare the paint as directed. Do not thin it unless the manufacturer permits a specific method.
- Use the recommended brush and roller type for the coating and texture.
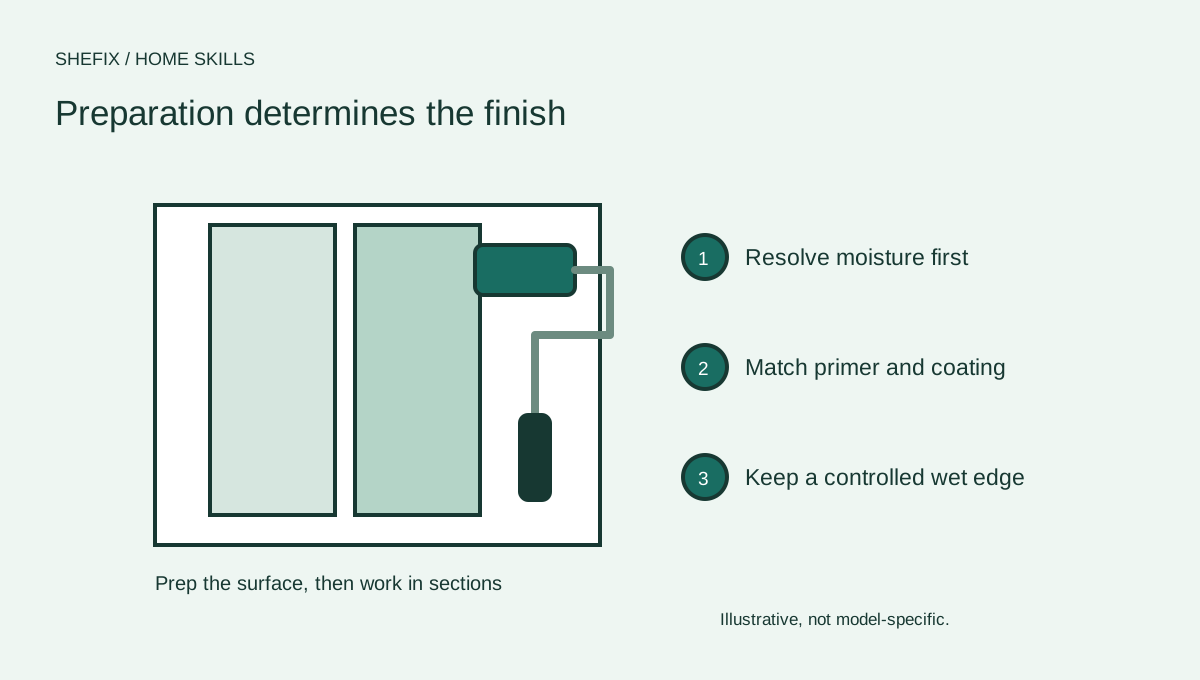
- Work in manageable sections. Keep a wet edge so adjacent areas blend rather than forming dry overlap marks.
- Roll evenly without pressing so hard that the roller leaves lines or distributes an inconsistent film.
- Follow the stated recoat interval. Dry to the touch does not necessarily mean ready for another coat.
- Inspect after the required drying period under normal and side lighting, then address genuine missed areas using the appropriate method.
Do not try to finish a wall with the last barely loaded roller. Uneven loading can produce thin coverage and texture differences. If cans must be combined for consistent color, follow the product guidance and mix the appropriate quantities before application.
Troubleshoot visible problems
Flashing over a repair can reflect different absorption or sheen. Roller marks may come from technique, an unsuitable roller, or drying conditions. Peeling can signal adhesion or moisture problems. More coats do not necessarily solve any of these causes.
Keep the room within the coating's application conditions, and observe its full cure guidance before washing or putting furniture against the wall. A newly painted surface may need more time to become durable than it needs to look dry.
When to hire a painter
Choose professional help for hazardous old coatings, extensive repairs, difficult access, specialty finishes, large scope, or a room you need completed on a tight schedule. Ask whether the estimate includes protection, cleaning, repairs, primer, coat count, trim, cleanup, and disposal.
Provide surface photographs and explain whether the room has had water or peeling problems. A useful estimate distinguishes cosmetic preparation from repairs that need another trade. Compare products and included work rather than price alone.
Questions homeowners ask
Can paint cover mold? Moisture and contamination need appropriate assessment and remediation. A coat of paint does not resolve them.
Does paint-and-primer mean no preparation? No. Surface suitability, cleaning, repair, and product compatibility still matter.
Why does touchup look different? Color, sheen, age, application texture, and absorption can all differ. A full wall may blend better than repeated spot work.
Your printable project checklist
Use your browser's PDF option to keep a copy. Create a free account to keep project records and compare professionals.
Sources & further reading
Follow the instructions for your specific equipment and confirm current local requirements.