Walls & Fixtures · All the Things Your Dad Should Have Taught You
How to Patch Small Drywall Holes for a Smooth Finish
Repair small holes in sound drywall with thin coats, appropriate primer, and careful finish matching, while recognizing moisture and material hazards.
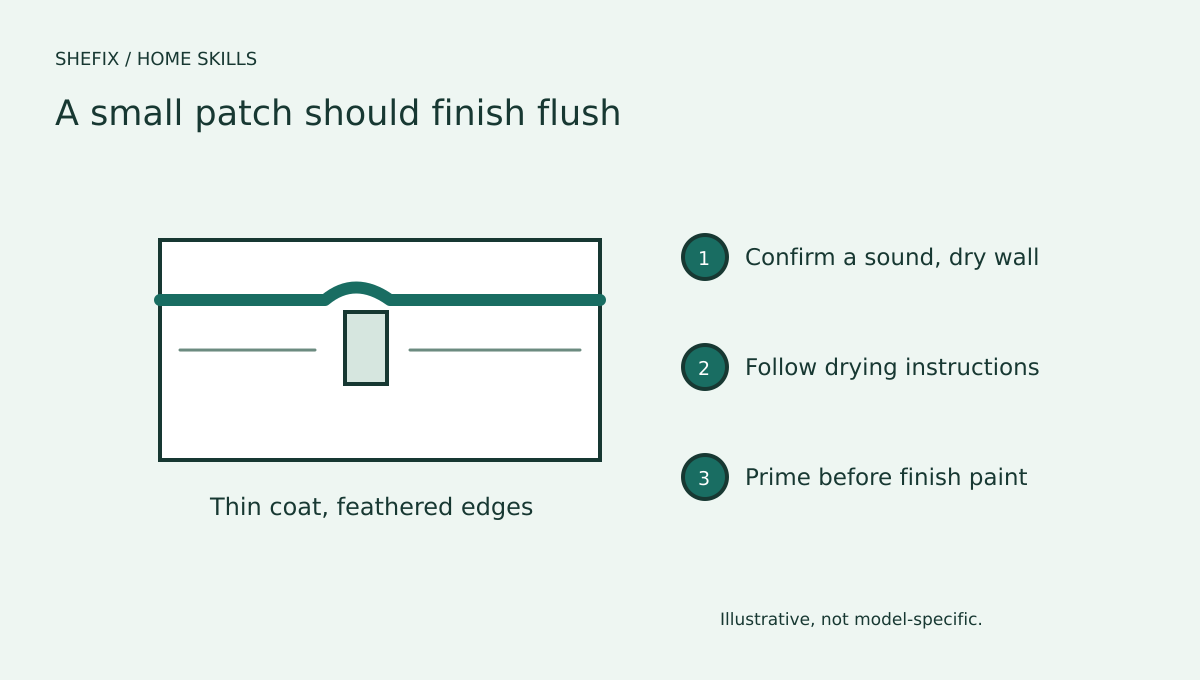
A small nail hole and a damaged section of wall need different repairs. For tiny fastener holes in sound, dry drywall, a thin surface patch can be a manageable first project. A soft wall, spreading crack, water stain, or large opening needs investigation before cosmetic work. The goal is a smooth repair that blends with the surrounding surface, not a thick mound hiding an unresolved problem.
Older painted surfaces can contain lead, and some older textured finishes may contain asbestos. Do not sand, scrape, or cut unknown older materials until they have been appropriately assessed. If you rent, get permission before changing finishes, and keep the approved paint information.
Decide whether the hole fits this guide
This method is for small nail and screw holes where the drywall paper is mostly intact and the surrounding wall is firm. Read the patching compound's size limits. A larger hole may need a backing patch, tape, or new drywall, and that is a different method.
Look for signs of an underlying issue. Staining, dampness, bubbling paint, repeated cracking, or crumbling gypsum should pause the cosmetic repair. Address moisture first. A hole beside an electrical device or plumbing opening may need a professional because access or assembly details matter.
Remove a loose picture hook if it is safe to do so. Do not drill or drive an old anchor deeper into an unknown wall cavity. If an anchor cannot be removed without enlarging the hole substantially, use an appropriate repair method rather than forcing this small-hole approach.
Gather a modest repair kit
You need interior patching compound suitable for the hole, a flexible putty knife, a clean cloth, primer compatible with the compound and paint, matching wall paint, and the applicator used on the surrounding wall. Fine abrasive material may be needed only after material hazards have been ruled out and the compound instructions permit it.
Protect flooring and nearby furnishings. Use eye protection and control dust. Keep ventilation compatible with the product instructions. A damp cloth and restrained application often reduce the sanding needed later.
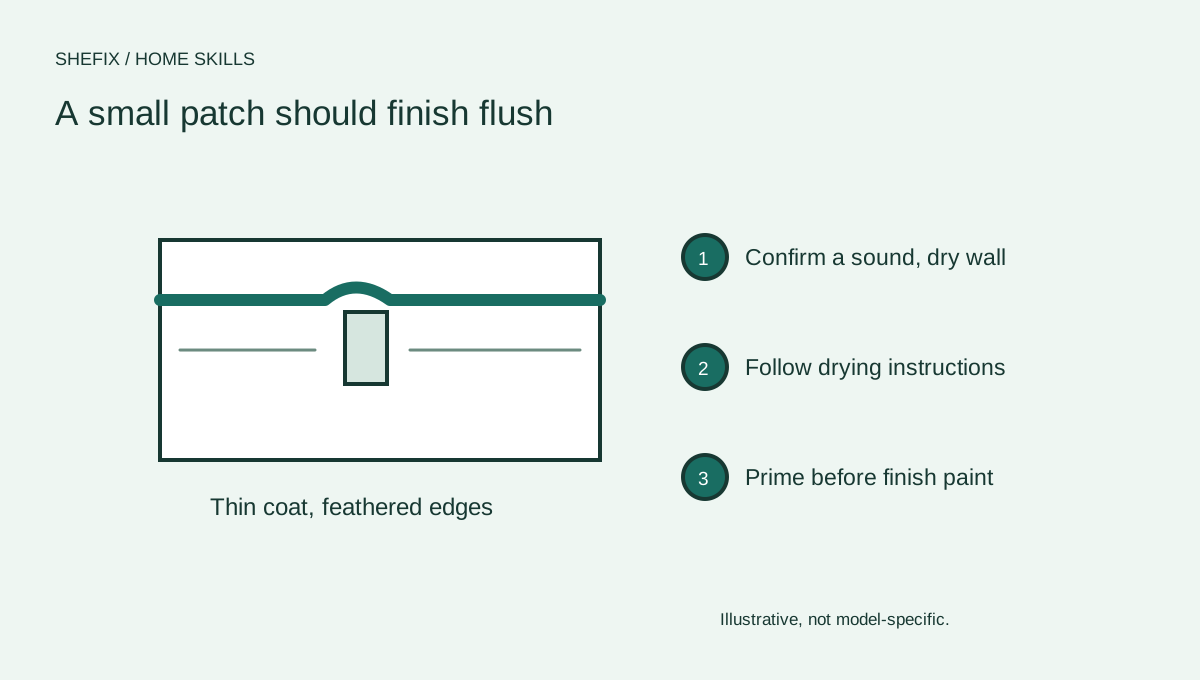
Apply a thin patch
- Remove only loose material that comes away easily from the small opening. Keep the surrounding paper intact.
- Wipe the immediate surface as the compound instructions allow, then let it dry.
- Load a small amount of compound on the putty knife. Press it into the hole rather than spreading a large mound over it.
- Draw the knife across the repair at a shallow angle. Leave the patch nearly flush, with a thin edge extending onto sound surrounding wall.
- Let the product dry for its stated time. Temperature, humidity, thickness, and product type affect drying; a dry-looking surface does not always mean a fully dry patch.
- Inspect under side lighting. If the patch has shrunk into a shallow depression, apply a second thin coat and dry again.
Blend texture and paint carefully
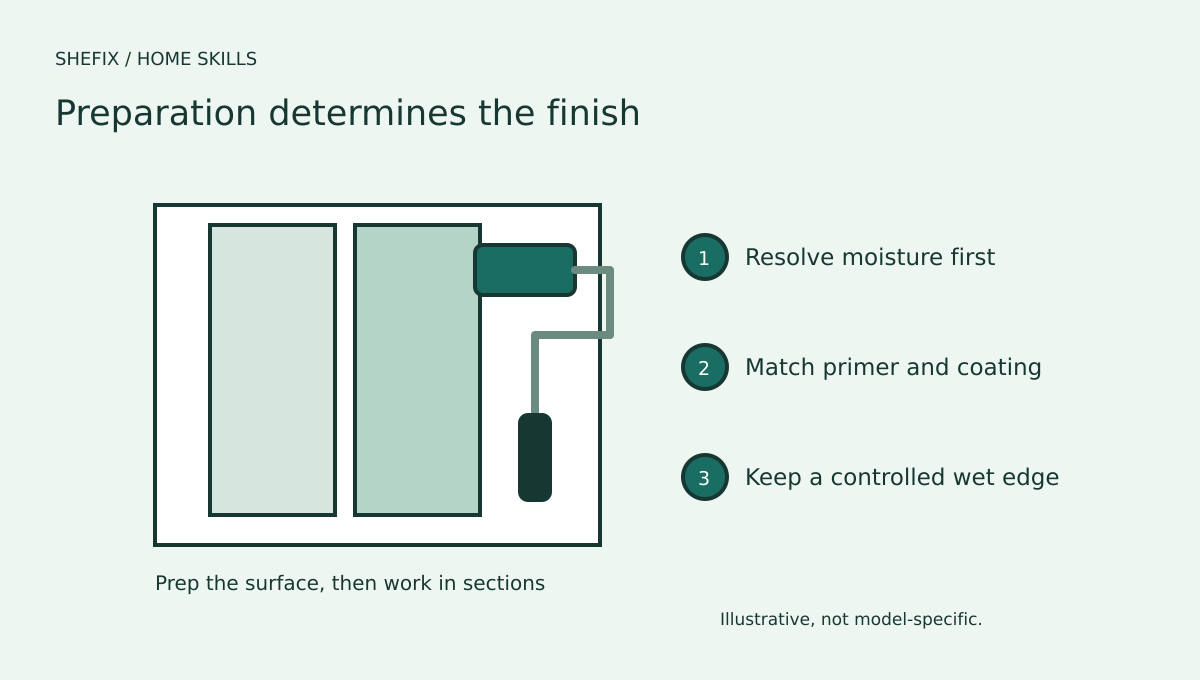
Only smooth the repair as permitted after confirming the materials are safe to disturb. Remove dust before coating. Prime according to the compound and paint instructions so the patch does not absorb finish paint differently from the wall.
For a lightly rolled wall, use the same roller type and technique as the existing finish where possible. A brush dab can leave a different texture. Textured walls may need a compatible texture treatment, and an exact blend is not guaranteed. Practice on a sample first instead of making the repair larger with repeated experiments.
Paint sheen and age affect the result. Even the original paint can look different after years of fading or wear. Stir leftover paint well if it is still usable, test discreetly, and inspect after it dries. Painting the full wall from corner to corner may give a more consistent result than repeated spot touchups.
Why a patch remains visible
A raised circle usually means too much compound or insufficient feathering. A dull or shiny spot can mean missing primer, a sheen mismatch, or a different application texture. A shadow under side lighting may reveal a low spot that needs another thin coat.
Do not keep sanding a wide area to solve a tiny imperfection. Excessive sanding can damage the surrounding paint and drywall paper. If the surrounding wall becomes fuzzy or uneven, stop and reassess the repair method.
When to call a professional
Get help for large or recurring cracks, soft drywall, water intrusion, suspected material hazards, extensive texture matching, or damage involving electrical or plumbing work. A cosmetic patch will not resolve structural movement or a recurring leak.
Describe the size and location of the damage, when it appeared, whether it changes, and whether the wall has ever been wet. Include photographs under normal and side lighting. Ask whether the estimate includes preparation, texture, primer, full-wall painting, and cleanup, since those items determine the finished appearance.
Questions homeowners ask
Can toothpaste replace patching compound? Use a purpose-made product. Household substitutes do not provide a predictable repair or paint surface.
Can I paint before the compound is fully dry? Follow the product's drying and coating instructions. Trapped moisture and shrinkage can spoil the finish.
Why is the patch still noticeable after painting? Surface shape, texture, primer, paint color, sheen, and application all contribute. Diagnose which one differs before adding another layer.
Your printable project checklist
Use your browser's PDF option to keep a copy. Create a free account to keep project records and compare professionals.
Sources & further reading
Follow the instructions for your specific equipment and confirm current local requirements.