Walls & Fixtures · All the Things Your Dad Should Have Taught You
How to Replace Bathroom Caulk on a Sound, Dry Joint
Inspect why a bathroom joint failed, choose compatible sealant, prepare carefully, and allow the proper cure before water exposure.
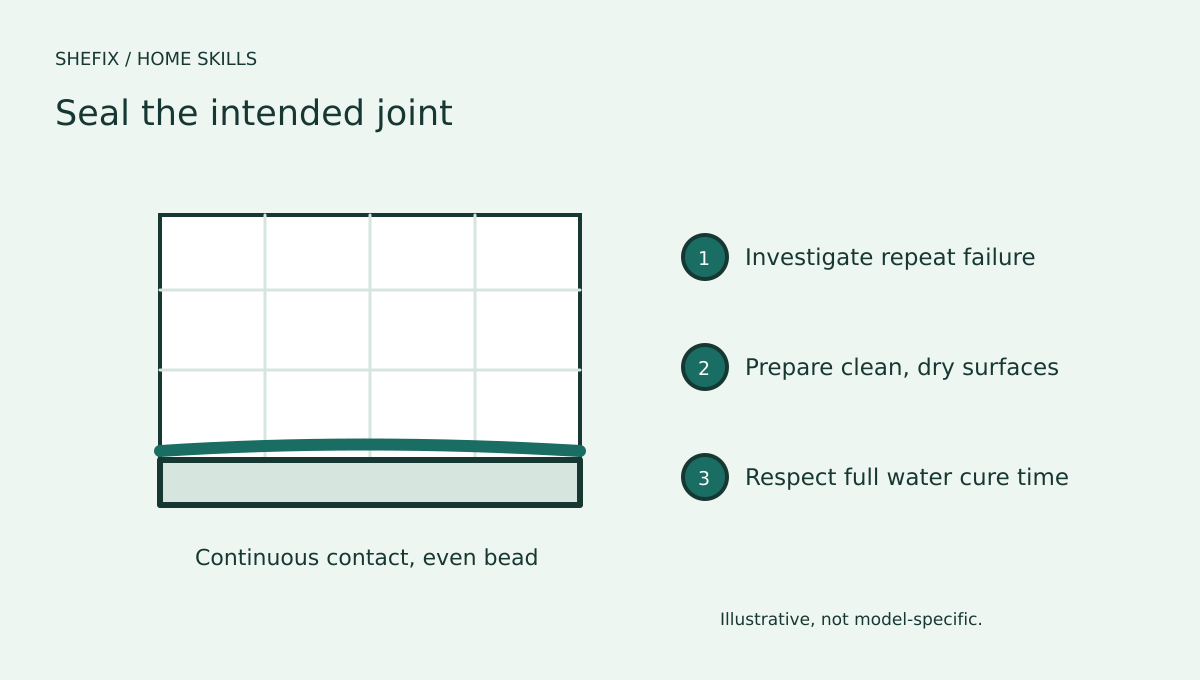
Bathroom caulk closes a designed joint between compatible surfaces. Replacing a failed bead can improve a sound, dry joint, but it cannot repair a loose tub, failed waterproofing, or water trapped behind the wall. Before scraping anything away, determine what the joint is supposed to do and why the existing sealant failed.
This guide is for a small, accessible joint that the fixture or surface manufacturer says should be sealed with a homeowner-applied product. It does not cover shower rebuilding, structural movement, failed tile assemblies, or sealing drainage paths. If the area is soft, persistently damp, or musty, investigate first.
Inspect the joint and surrounding materials
Look for separation, cracks, discoloration, and loose surfaces. Press only gently on accessible sound surfaces; do not probe into a damaged wall. A bead that repeatedly opens may be responding to movement rather than poor application. Water staining outside the enclosure deserves more than a cosmetic fix.
Check the fixture instructions. Some assemblies have drainage or weep paths that must remain open. Do not caulk every visible gap indiscriminately. A tiled change of plane, a tub-to-wall joint, and a prefabricated surround can have different requirements.
Identify the old product if possible and check whether the replacement bonds to the substrates. Silicone, acrylic formulations, and specialty sealants have different properties. Paintability is not automatically desirable in a wet joint; the product must be intended for the exposure.
Choose the product and plan the downtime
Read the sealant label for approved materials, preparation, application conditions, joint dimensions, tooling method, ventilation, and cure time. The bathroom may need to remain out of use until the full stated water-exposure cure is complete. A dry surface skin is not the same as a cured joint.
Gather the approved removal tool, protective gloves and eyewear as appropriate, cleaning supplies compatible with the surface, towels, masking tape if suitable, and the correct applicator. A sharp metal scraper can damage acrylic or finished metal. Test the manufacturer's allowed method discreetly.
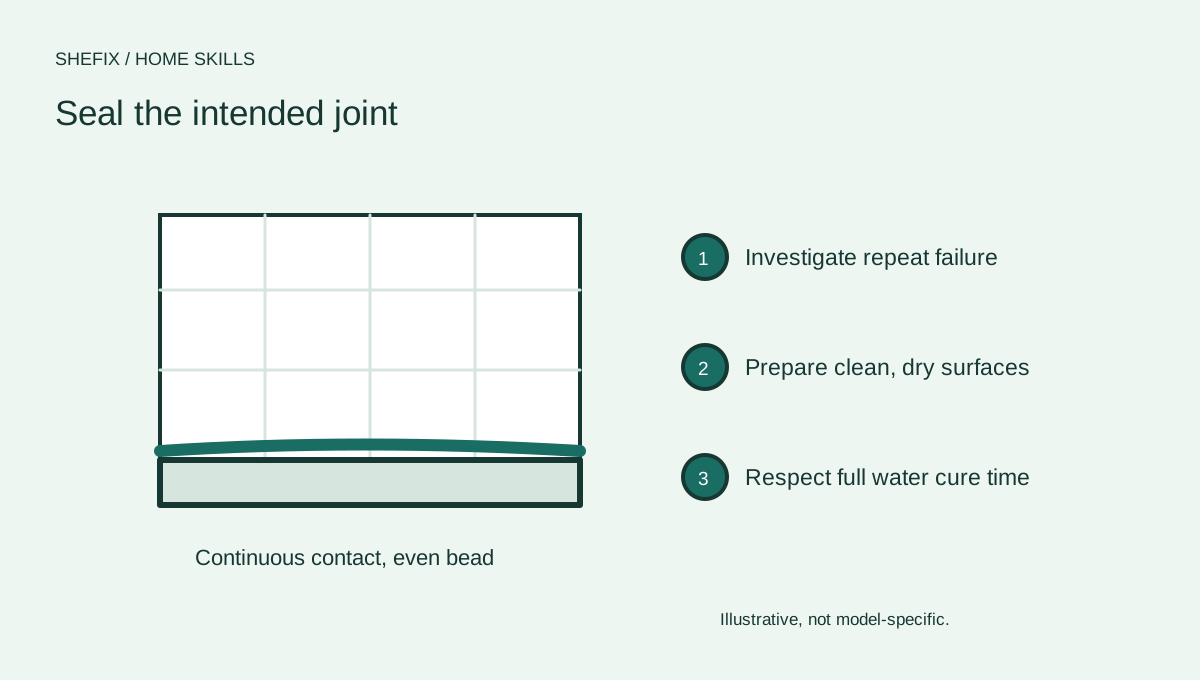
Remove failed sealant and prepare the surfaces
- Keep the area dry and stop bathroom use during preparation.
- Remove the old bead using a method approved for the substrate. Avoid cutting into waterproofing, gouging the surface, or pushing a blade into hidden cavities.
- Clear residue only with compatible products. Do not assume a solvent safe for tile is also safe for an acrylic tub.
- Inspect the exposed joint. Stop for movement, trapped moisture, damaged backing, extensive mold, or an unexpectedly large void.
- Clean and dry the bonding surfaces according to the sealant instructions. New material applied over residue or moisture may fail early.
A large or deep joint may require a specified backing material and geometry. Do not fill a deep cavity with an excessive mass of sealant because the tube happens to be available. Ask a professional about the correct joint design.
Apply a controlled bead
Cut the nozzle for the intended bead size rather than opening it as wide as possible. Practice on scrap or a protected test surface. Apply a continuous bead at an even pace, keeping control of the applicator. The aim is adequate contact with both sides of the joint without a bulky ridge.
Tool the bead only with the manufacturer's approved method and within the stated working time. Do not assume a household soap mixture is compatible with every product. If masking tape is used, remove it at the instructed stage so it does not tear the bead after curing.
Leave the joint undisturbed for the full recommended cure before exposing it to water. Follow any fixture-specific instructions about loading the tub during application; do not apply a universal rule to every tub or surround.
Inspect the finished result
Look for gaps, bubbles, lifting edges, or areas where the sealant did not contact both surfaces. Check again after normal use resumes. A bead that separates quickly suggests preparation, compatibility, joint geometry, or movement needs attention.
Keep the area ventilated and clean it using products compatible with the fixture and sealant. Avoid abrasive scrubbing that damages the bead. Record the application date so a repeat failure can be discussed in context.
When a professional is the better next step
Call for help when the fixture moves, the wall is soft, water appears outside the enclosure, the joint repeatedly fails, waterproofing is uncertain, or mold extends beyond a small manageable surface issue. Removing more sealant and adding a thicker bead will not establish that the assembly is watertight.
Ask whether the estimate addresses the cause of failure or only replaces the visible sealant. Request clear terms for substrate preparation, product selection, cure downtime, and any underlying repair. Photograph the condition before work begins.
Questions homeowners ask
Can I put new caulk over old caulk? Follow the product instructions; reliable adhesion generally requires appropriate removal and preparation rather than covering failed material.
How long until I can shower? Use the specific sealant's stated cure time for water exposure, accounting for its application conditions.
Why did it fail again? Possible causes include movement, moisture, contamination, incompatible materials, or the wrong joint design. Diagnose before repeating the same repair.
Your printable project checklist
Use your browser's PDF option to keep a copy. Create a free account to keep project records and compare professionals.
Sources & further reading
Follow the instructions for your specific equipment and confirm current local requirements.