Maintenance · All the Things Your Dad Should Have Taught You
How to Weatherstrip a Drafty Exterior Door
Find the real gap, match the seal profile, and check normal closing, locking, and drainage after a compatible weatherstripping repair.
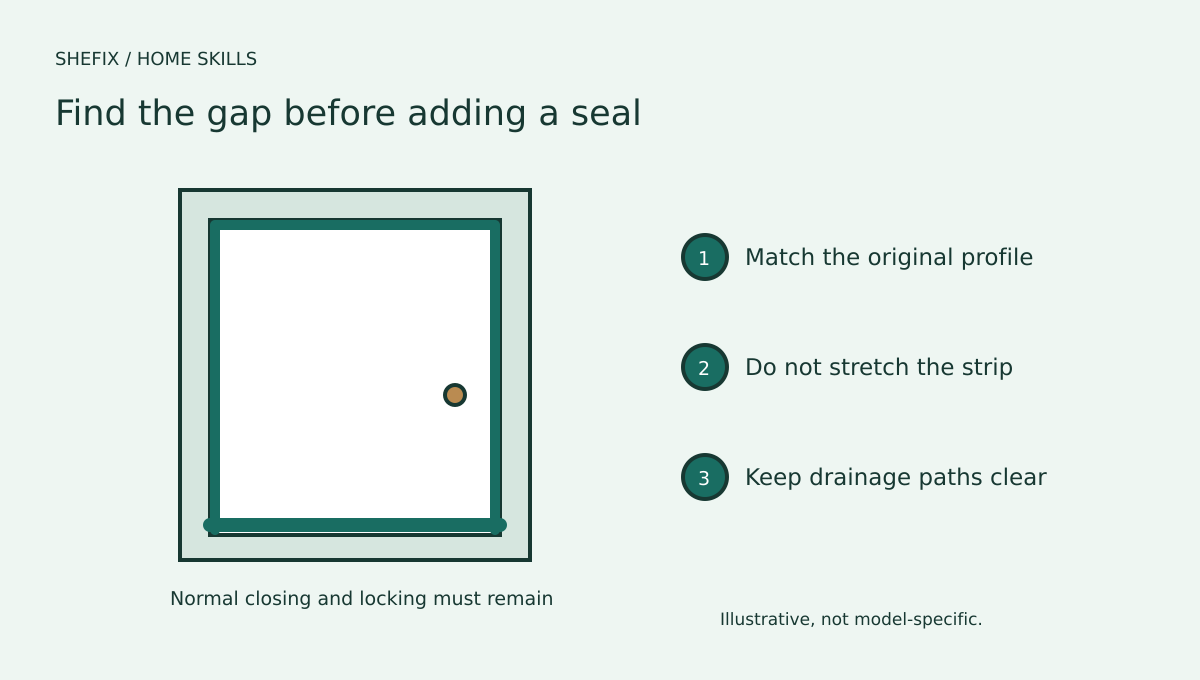
A draft at an exterior door can come from a worn seal, a gap beneath the slab, an out-of-square frame, or a door that does not close properly. Weatherstripping works when it fits the door's design and allows normal closing and latching. It should not conceal rot, force the door out of alignment, or block drainage openings.
Begin with a visual check and the door manufacturer's guidance. This guide covers simple replacement of an accessible compatible seal on a sound door. It does not cover rebuilding a threshold, cutting the door, replacing a frame, or altering a fire-rated assembly.
Locate the actual gap
Look for cracked, flattened, or missing seals around the jamb. Inspect the bottom sweep and threshold from a safe position. A visible gap does not necessarily mean every side needs a thicker product. Check whether the door closes smoothly and whether the latch engages without lifting or slamming.
On a calm day, a thin strip of paper closed in the door can help compare contact around the perimeter if the manufacturer permits this test. Do not use a flame to find air movement. Examine corners where seals meet, since a break there can matter even when the middle of each side is intact.
If the door rubs, sags, or has water damage, address that condition first. Adding compression against a misaligned door can make locking difficult and create more wear. A professional can determine whether hinges, the frame, or the threshold needs repair.
Identify the seal profile
Doors may use a kerf-in seal, adhesive foam, tubular gasket, brush, or another design. The shape, thickness, mounting method, and compression range should suit the assembly. A replacement marketed for exterior doors is not automatically compatible with your door.
Measure the required lengths and photograph the existing profile before removal. Check whether the sweep is separately replaceable and whether it has a manufacturer part number. Take a small old sample to a supplier only if it can be removed without compromising the door before a replacement is available.
Prepare and install a compatible seal
- Choose a period when the door can be open safely and the surface meets the product's temperature and moisture conditions.
- Remove only the replaceable seal according to the assembly instructions. Avoid damaging a kerf, finish, or bonded component.
- Clean the mounting surface with a compatible method and let it dry completely.
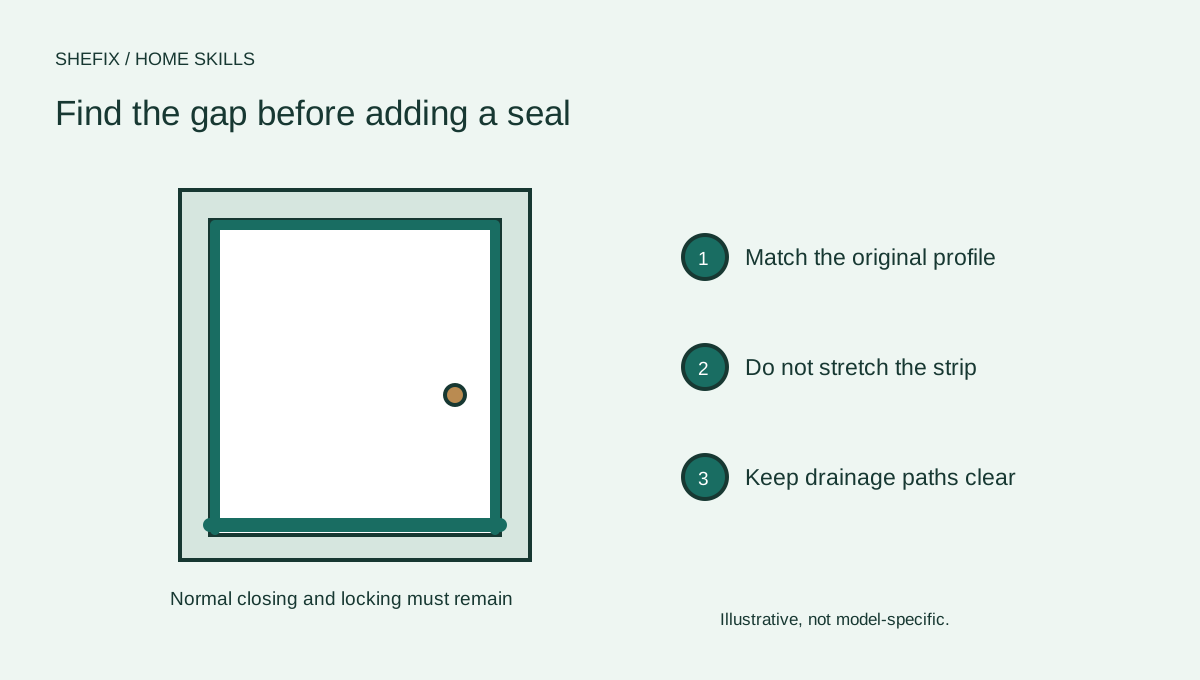
- Cut or fit the replacement as directed. Do not stretch flexible material to make it reach; it may shrink back and leave gaps.
- Install it in the specified orientation and check corner continuity.
- Close the door slowly. Confirm normal operation, latch engagement, and locking before considering the job complete.
For an adhesive product, bond preparation and cure conditions matter. For a kerf-in product, use the correct profile and press it securely without splitting the frame. A sweep may require fasteners or adjustment, but do not drill into an unknown door assembly without the manufacturer's instructions.
Check function and weather resistance
Test from both sides, including opening, closing, latching, and locking. The seal should make useful contact without excessive force. Recheck after any adhesive cure period and after a few days of use. A new seal that rolls out or tears is a fit problem, not a reason to glue it indiscriminately.
Inspect the threshold and nearby flooring after rain. Weatherstripping reduces air leakage at an intended contact point; it does not replace a proper water-management system. Keep designed drainage paths clear and do not caulk shut openings without understanding their purpose.
Common mistakes
Oversized foam can prevent the latch from engaging. Stretching a strip during installation can leave gaps later. Applying adhesive to dust, moisture, or an incompatible finish can cause early detachment. Stacking multiple strips may create uneven pressure without addressing a misaligned door.
Do not modify a labeled fire door or shared-building entrance without the required approval. Renters should request permission and use the property manager's approved repair process. A door that is part of an accessible route should continue to operate as required after any work.
Questions homeowners ask
Should I replace every seal at once? Replace based on condition and compatibility. A sound seal can remain while a failed component is addressed.
Can a thick strip fix a sagging door? It may mask part of the gap while making closing worse. Correct the underlying alignment problem.
Why is water still entering? The issue may involve the threshold, flashing, frame, drainage, or surrounding construction. Get a professional evaluation instead of adding sealant at random.
Record the repair
Save the product profile, part number, installation date, and a photograph of the finished fit. If drafting or water entry continues, include where and when it happens in the professional inquiry. Those details help distinguish a seal replacement from a larger door or envelope repair.
Your printable project checklist
Use your browser's PDF option to keep a copy. Create a free account to keep project records and compare professionals.
Sources & further reading
Follow the instructions for your specific equipment and confirm current local requirements.